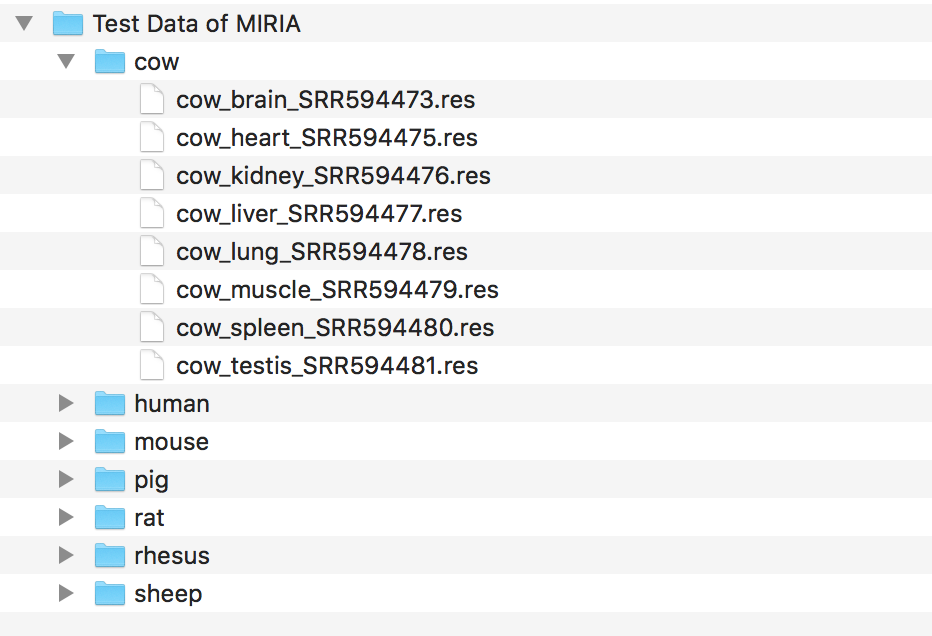
 Figure 1. The example input file of MIRIA
MIRIA is a user-ferendly webserver that integrates statistics and visualization techniques, to facilitate comprehensive analysis of RNA editing sites data identified by other pipelines and software. The MIRIA provides several analysis functions, including RNA editing types statistic, genomic feature annotation, editing level statistic, editing sites distribution, tissue-specific analysis and conservation analysis.
MIRIA required user to upload a compressed file (.zip format) containing all RNA editing files of different mammals. The architecture of the zip file has two layers. The first layer contains all species folders (e.g., human, mouse, rat) and the second layer, inside each species folder, contains all RNA editing files of this species (e.g., tissue1.res, tissue2.res, tissue3.res) (Figure 1). The format of the single RNA editing file (.res) is listed below (Table 1).
Figure 1. The example input file of MIRIA
| Chromosome | Location (0 based) | Location (1 Based) | Type | Supporting information | Strand | AD:DP |
|---|---|---|---|---|---|---|
| chr1 | 1266631 | 1266632 | TC | 3 | - | 5:9 |
| chr1 | 1280297 | 1280298 | AG | 2 | + | 2:2 |
Table 1. The format of a single RNA editing file. Chromosome: Name of chromosome. Location (0/1 base): Position of the editing site in the chromosome. Type: Type of the identified editing site (e.g. AG means ’A-to-G’, etc.). Supporting information: Number of supporting reads for this editing site. Strand: Possible values are: ’.’, ’+’, and ’-’ which correspond to ’uncertain’, ’positive strand’, and ’negative strand’ respectively. AD:DP: Number of reads that has this editing site and the number of reads that cover this location. This file is the output file of RNA editing sites identification tool, SPRINT. Users need to convert other RNA editing sites file format to this format before uploading input file.
Users can analyze their data by uploading their .zip input file in MIRIA analysis page (clicking ANALYSIS link in navigation bar)(Figure 2).
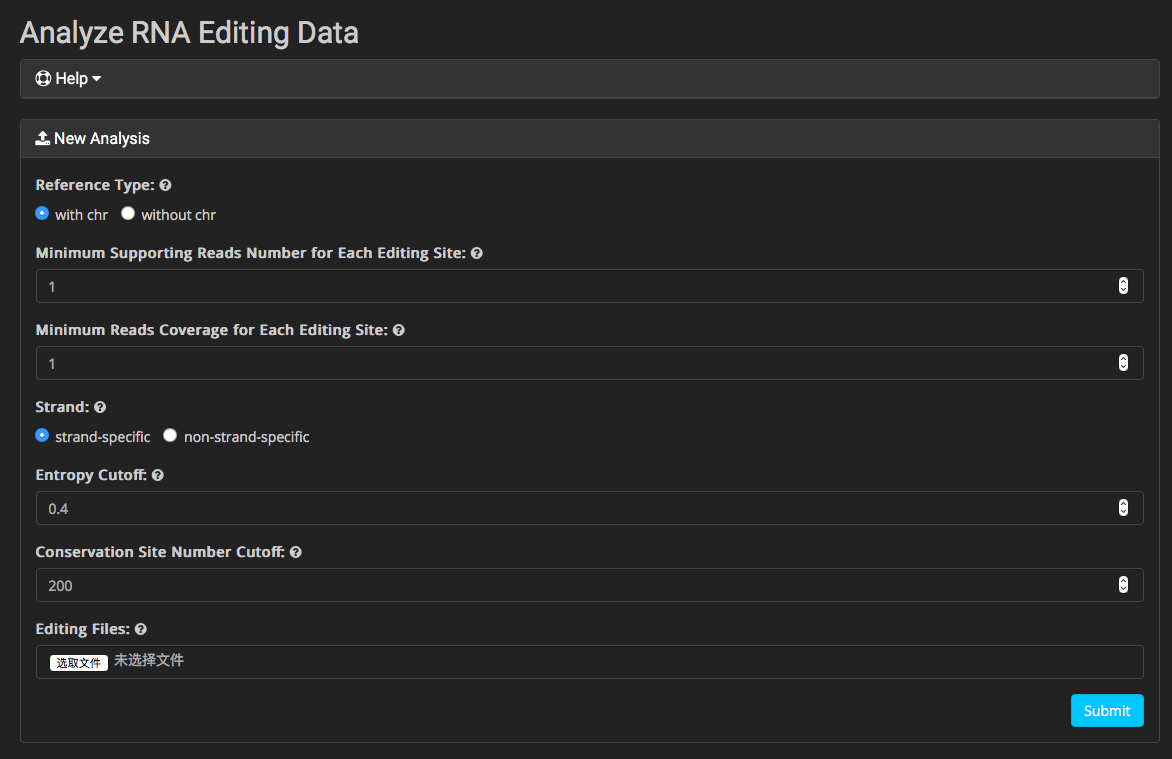 Figure 2. Analaysis page of MIRIA
Paramaters
After analysis job submission, a job id will be assigned (Figure 3) and users can check their job status using this job id by clicking check you job status link in analysis page (Figure 4).
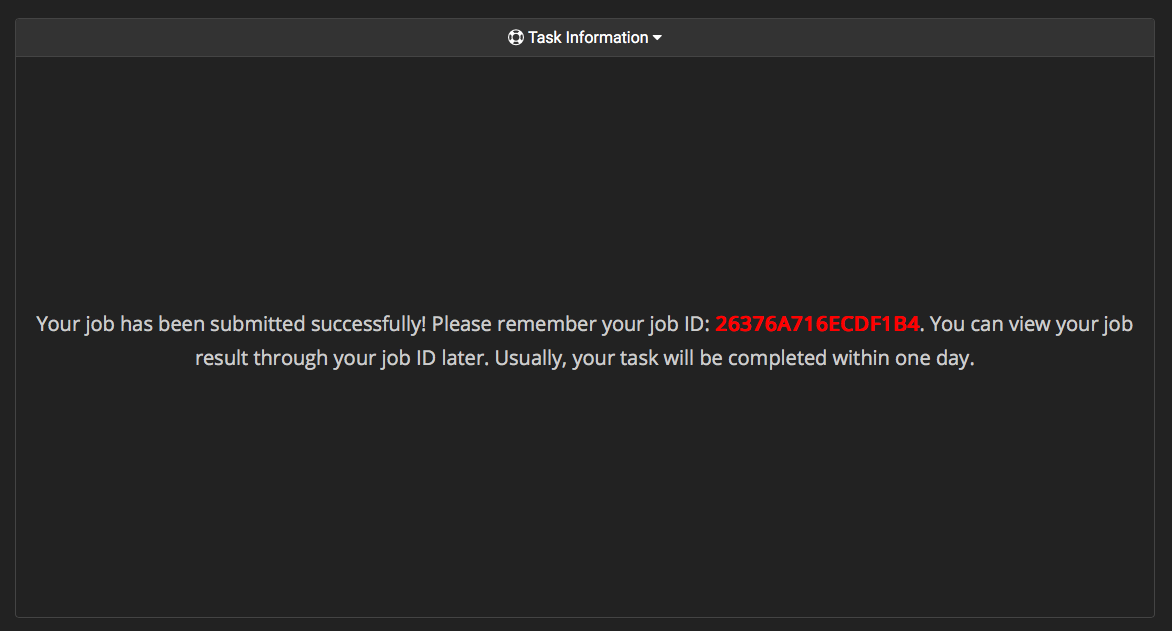 Figure 3: Assigned job id after analaysis job submission
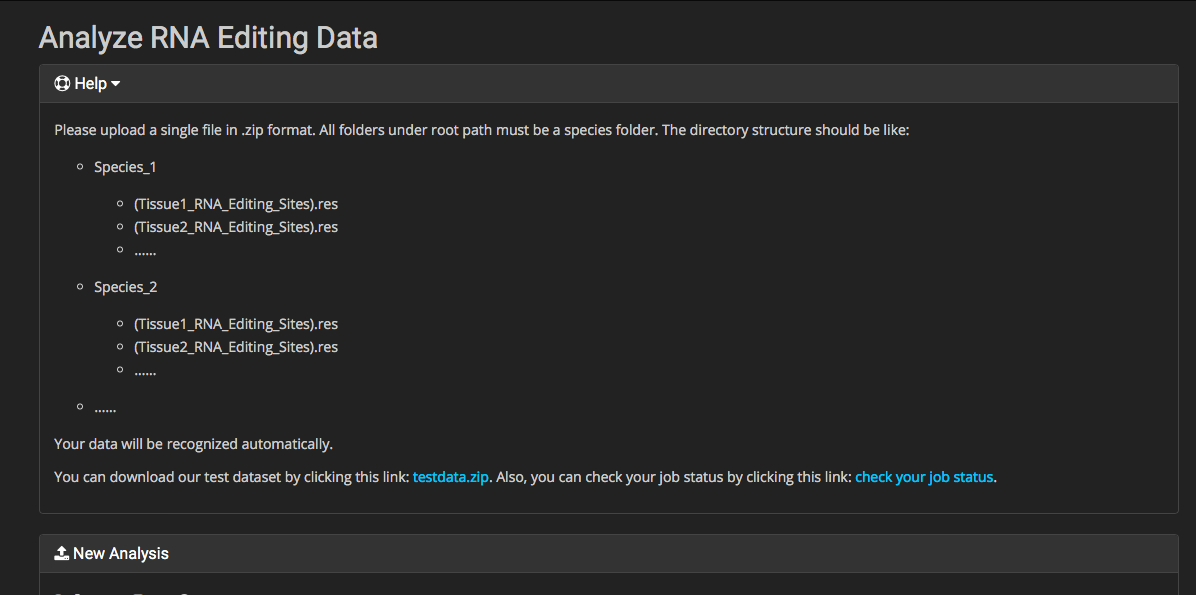 Figure 4: Check job status link in analysis page
After the job completion, users can view the result by clicking “view result” link on check job status page (Figure 5).
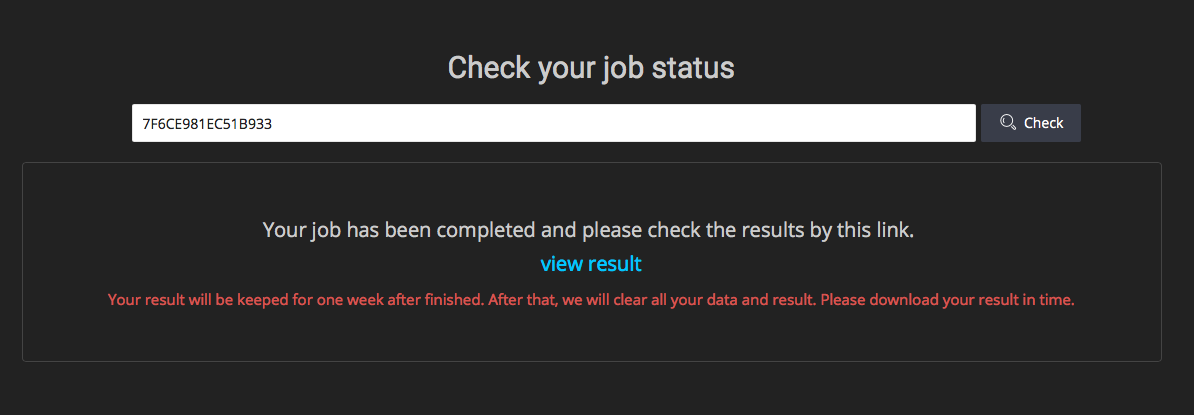 Figure 5. View result link in check job status page
The example result page can be accessed by clicking Example Result link in navigation bar.